

Heritage Herald
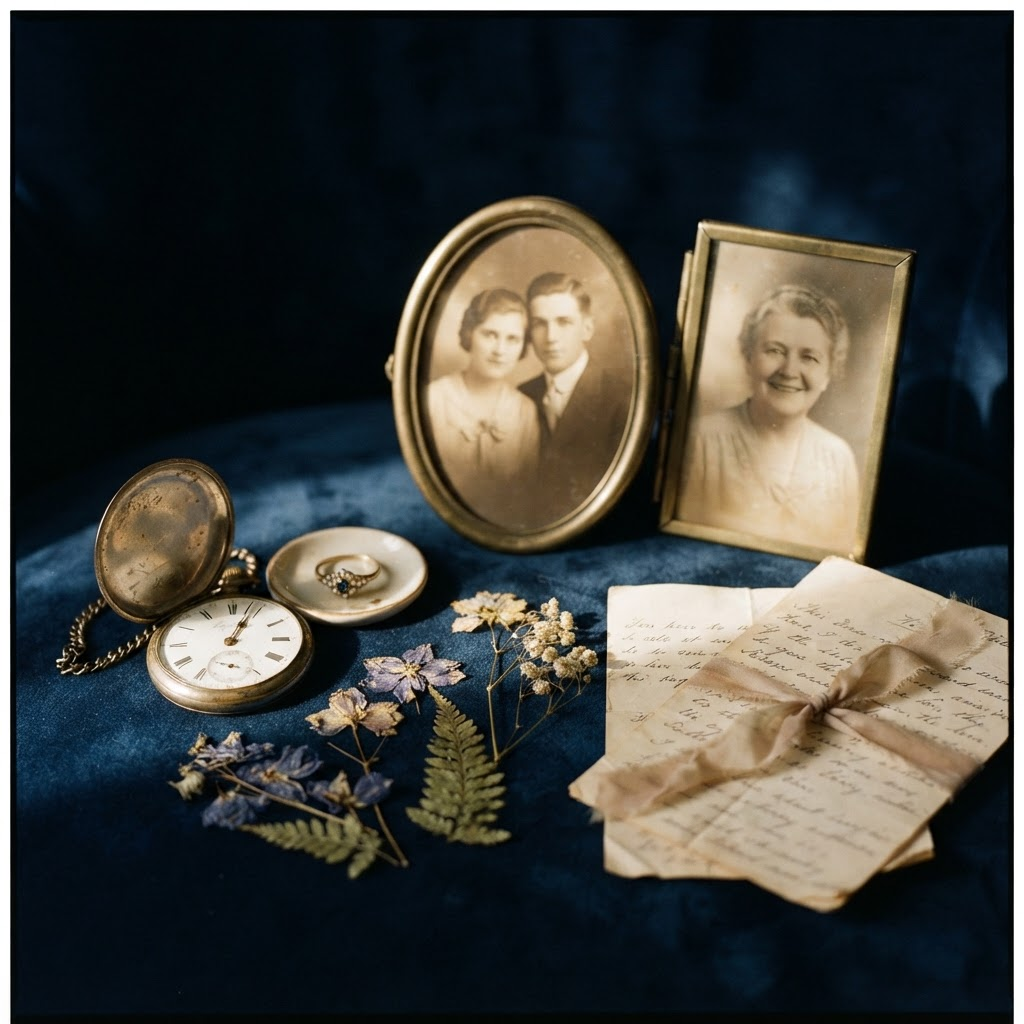
Treasured possessions — framed photographs, a pocket watch, a ring and folded letters on navy velvet
Step-by-step setup guide

Set up your Heritage Herald vaultin simple steps.

From registering your account to preparing final messages and uploading important files, this guide walks you through every stage clearly and confidently.

Your setup journey

Nine clear steps to set up your vault

  1. 1Create your account
  2. 2Confirm email and log in
  3. 3Run a test routine
  4. 4Add your recipients
  5. 5Set up Appointed Contacts (Tier 1)
  6. 6Prepare messages for recipients (Tier 2)
  7. 7Save and activate your settings
  8. 8Upload files to your repository
  9. 9What happens when the process is active
1

Create your account

Go to the registration page and enter the email address you want to use for Heritage Herald.

Create a password with at least six characters, including a mix of upper-case and lower-case letters, numbers or special characters. Check your inbox and select the confirmation link to activate your account.

What you'll do

  • Enter your name, email and password
  • Agree to the terms and conditions
  • Verify your email address
2

Confirm email and log in

Log in using your chosen email address and password. If either is entered incorrectly, you will be invited to try again.

If you cannot remember your password, you can create a new one and confirm the change by email.

What you'll do

  • Check your inbox for confirmation
  • Select the verification link
  • Log in to your dashboard
3

Run a test routine

Before preparing your legacy messages, run a test routine so you can see how Heritage Herald responds to your instructions.

For testing, dashboard wait periods can be changed between 1–52 hours, days or weeks. Remember to set the appropriate wait periods before activating your legacy messages.

What you'll do

  • Start a test routine
  • Experience the full process
  • Check that everything is configured correctly
4

Add your recipients

Add people to one or both contact groups: Appointed Contacts (Tier 1), who can confirm whether your instructions should continue, and Message Recipients (Tier 2), who receive your personal messages and selected files.

The same person can be included in both groups, but their details must be entered separately in each section.

What you'll do

  • Add each recipient's name and email
  • Choose Tier 1 or Tier 2 roles
  • Save your recipient list
5

Set up Appointed Contacts (Tier 1)

Appointed Contacts are notified if Heritage Herald is unable to confirm that you are active. They receive an email explaining that the process has started and are asked whether your messages should be released.

Use the pre-written message or edit it to suit your preferences. Once one Appointed Contact confirms release, the process can move to your Message Recipients.

What you'll do

  • Select your Tier 1 contacts
  • Set the confirmation method
  • Configure wait periods and reminders
6

Prepare messages for recipients (Tier 2)

Message Recipients receive a personal message written by you. Select Edit to write or update each message and, if required, create a secure link to files stored in your repository.

Select Update when you have finished editing.

What you'll do

  • Write your personal messages
  • Attach files or secure links
  • Review and save each message
7

Save and activate your settings

Use the dashboard to save your settings, activate the process or stop it at any time. Always select Save after changing wait periods, contacts or messages.

When ready, turn the activation switch on. It turns green once active. Save again so the process remains active when you log out.

What you'll do

  • Test activation and pausing
  • Use your own or a test email
  • Review and save your final settings
8

Upload files to your repository

Your repository securely stores important files and folders. Select Create Folder, give it a clear name, then open it to upload files from your computer.

Create multiple folders whenever needed to keep everything organised.

What you'll do

  • Create folders to organise files
  • Upload documents securely
  • Manage file permissions
9

What happens when the process is active

Heritage Herald sends scheduled check-in emails based on your chosen timings. Responding to a check-in or reminder resets the process so it continues as normal.

If no response is received after all reminders, your Appointed Contacts are contacted. They can confirm whether messages should be released, and Heritage Herald records who confirmed the release and when.

What you'll do

  • Review your setup
  • Activate the process
  • Enjoy peace of mind
A grandmother reading a letter to her young grandchild in warm window light
A precious gift of lasting presence

Comfort and connection, when it is needed most

There is a profound comfort in knowing you can share your final, heartfelt words with those you care about most. Our platform offers a secure and compassionate space to craft messages, letters or instructions, delivered only to your intended recipients.

This unique service helps your loved ones feel comforted and deeply connected to your enduring spirit, even after you're gone — a continuing bond, offering solace when it matters most.

Understanding Tier 1 vs Tier 2

Trusted confirmation, followed by personal delivery

Tier 1

Appointed Contacts

Trusted confirmation contacts who help verify whether the process should continue when you do not respond.

Tier 2

Message Recipients

The people who receive your final messages, documents and secure links to the files you selected for them.

Test before you go live

Run a test routine first so you understand the process, confirm its accuracy and feel confident before activating your legacy messages.

Peace of mind
Frequently asked questions

Clear answers, honest guidance

Tier 1 recipients are your Appointed Contacts — trusted people who confirm whether your messages should be released if you do not respond to the scheduled check-ins and reminders.
Tier 2 recipients are your Message Recipients — the people who receive the personal messages, documents or secure file links you prepared for them.
Yes. The same person can be included in both groups, but their details must be entered separately in the Appointed Contacts and Message Recipients sections.
Yes. We recommend running a test routine before preparing your final legacy messages so you can experience the full process and confirm that everything is configured correctly.
Open your repository, select Create Folder and name it. Open the new folder to upload files from your computer. You can create multiple folders to keep documents clearly organised.

Still have a question?

Our knowledgeable, compassionate UK-based team is always ready to help.